Blogdown tutorial (Part 4)
Bring your website online: From blogdown via GitHub to Netlify
Update 2021-05-19: Because of breaking changes in Hugo and new features in blogdown this post is partly outdated. Starting with blogdown version 1.0 you do not build the website always from scratch.
Complement this sequence of the tutorial with reading Up & running with blogdown in 2021 by Allison Hill, co-author of the blogdown book.
We start this last part of the tutorial where we have finished last time.
Ignore public folder
One benefit of using Netlify is that that there is no need to upload your large public folder to get your website. Netlify will compile the source files and build by its own the Hugo site. You should take advantage of this feature by telling RStudio that the public-folder does not need version control, committed and uploaded. Select the public folder under the Git tab on the right upper pane and select from the configuration menu ignore….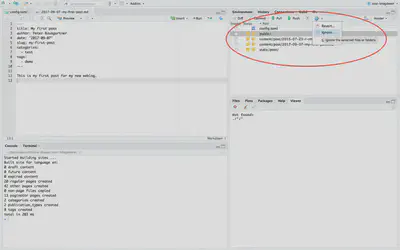
Confirm .gitignore
This will bring up a window where you can specify which files are to be ignored. Confirm the inclusion of the public folder with clicking ‘Save’.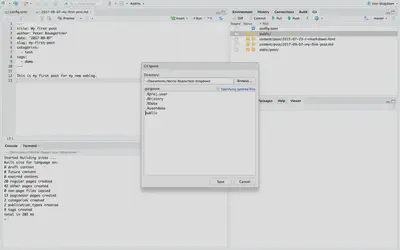
.gitignore) will be added as modified to the version control.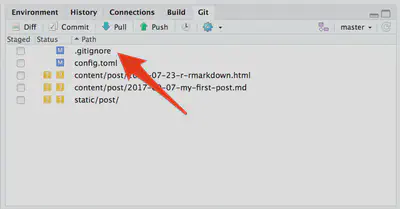
Clean up
Before we are going to rebuild the complete site, I recommend to take some precaution. To rebuild from a clean slate I restart R (Under the RStudio menu ‘Session’ or CMD-Shift-F10 on MacOS.) and clean up all unnecessary files (‘Clean All’ in the ‘Build’ tab under the ‘More’ menu in the upper right pane.)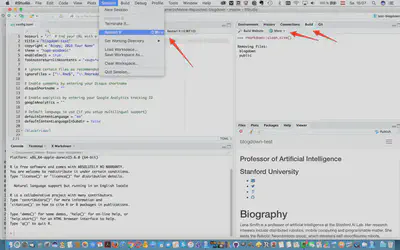
Build website
Now you can safely (re-)build the website by clicking into ‘Build Website’. You get a message of all the activities done, the time necessary for the build and were the output was created. [Personal comment: Frankly I do not know if the last two steps are really necessary when Netlify is running its own scripts.]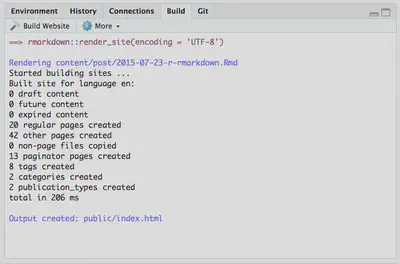
Commit changes
The next step is to select all changed files under the Git tab and to choose “Commit”, write a commit message and to confirm these changes.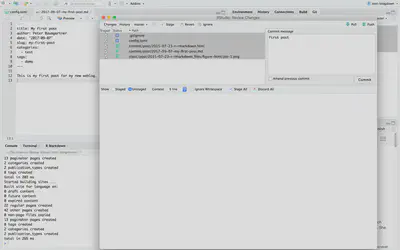
Push changes
Now you can transfer all your committed changes to GitHub. After clicking on the push button a window opens and you can see if the changed files are transferred successfully.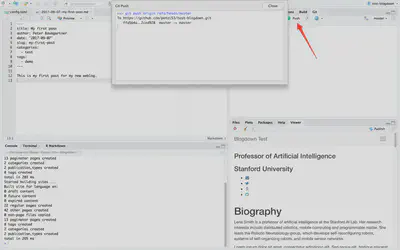
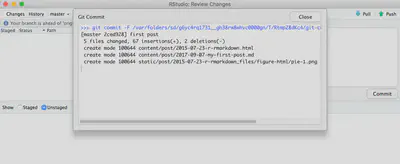
Inspect repo
If you don’t trust this process, you can direct your browser to your GitHub repository and check if really the last commit “First post” has safely arrived.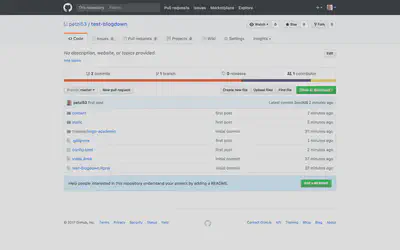
Get Netlify account
The last task we are going to solve is the connection the GitHub repository to the Netlifly service. Go to https://www.netlify.com/ and create a free new account (“Get started for free”).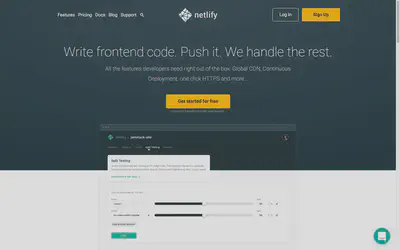
Let Netlify access your repo
After the registration procedure you get a page where you can choose ‘New Site from Git’.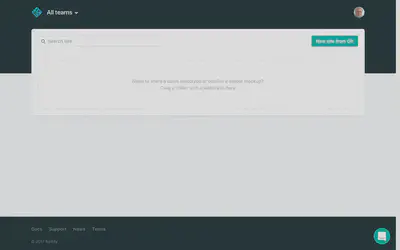

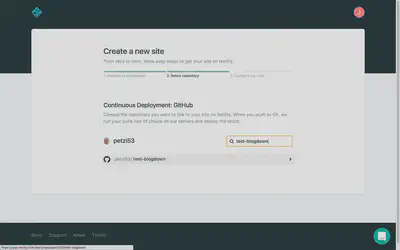
Deploy settings
In the third and last step (C in my former notation) on Netlify to create your website you have to specify the details (parameters) to let Netlify know which type of website it has to build. In the example in the screenshot I said that Netlify should watch my master branch, build a Hugo website from the public repository with the newest version of Hugo at the time of writing this tutorial (version 0.26).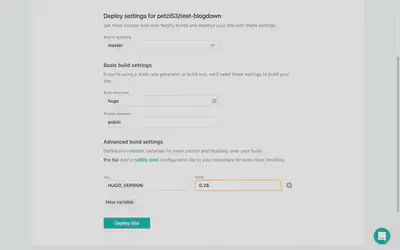
Deploy website
After clicking “Deploy website” you can lean back and watch Netlify busy working on building the website. This may take for this initial step some time but later on Netlify will finish work almost immediately as it only builds the new/changed files incrementally. When the rolling down of the messages stops you should see as last line: “Site is live”!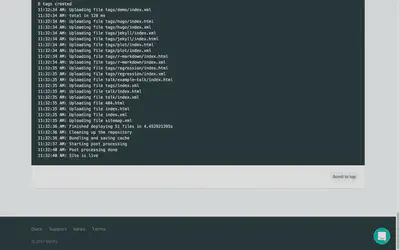
Preview deploy
Scroll back to the beginning of the log messages. You will see that Netlify has giving you a random URL but you can change this later on to your liking. Click “Preview deploy” to go to the URL of your new website.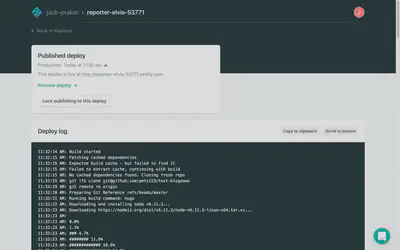
Website is online!
Congratulations! Your website is now online.
Final comments
This was a very quick tour where I have covered just the things I believed to be essential. If you are (like me) new to static website generators then the different steps together seem overwhelmingly complex. But with patience and some trial and errors you should succeed — as I have. There are many other (better) tutorials and How-Tos around. You should definitely read carefully the book blogdown: Creating websites with R Markdown and the reports of different experiences from the new rbind community.
Peter Baumgartner
Retired Professor of Technology Enhanced Learning (TEL)
My research interests include eLearning, educational technology, educational design, open science and data science education.